fixing casio sticky buttons
old casio models suffered from a "sticky" button problem. this is caused by gunge getting beneath the plastic itself. the problem manifests as a working button but is stiff to press and often clicks. repeated pressing can sometimes ease it up a bit, but the problem usually returns (the gunge is still there!)
around the button(s) in question there should be signs of dirt. you have to clean the dirt from the face and from underneath the button. to clean the underneath, the machine must be dismantled.
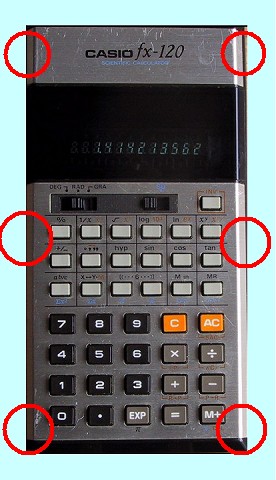
| shown here is the fx-120, but the
process is the same with any of these green-screen style models including
the fx-29, fx-39. the older cases of the al-10
and al-8 are also similar.
remove the batteries and screw the small fixing screw(s) inside. this model has another fixing screw holding a small panel in the back too. remove all these. shown opposite are the positions of the six fixing lugs that hold the case together. these need to be carefully popped open before the back of the case can be removed revealing the circuit board. the rear plastic case will not completely separate as there is a wire to the battery compartment terminals, although the wire is normally long enough to put the case just to one side. |
 |
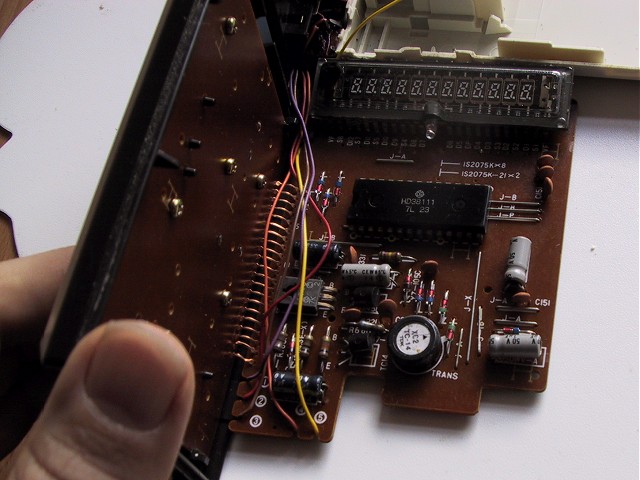
| the circuit board shown here is fixed to the keyboard via
an array of copper connections. you can carefully open the circuit
from the keyboard to about 90 degrees (opposite) if any of these
connectors break, you are in trouble.
notice the keyboard rear cover is fixed both with screws and fixing lugs at the top and bottom. remove the screws and carefully unpop the lugs. the circuit and rear keyboard board can now be removed. |
 |
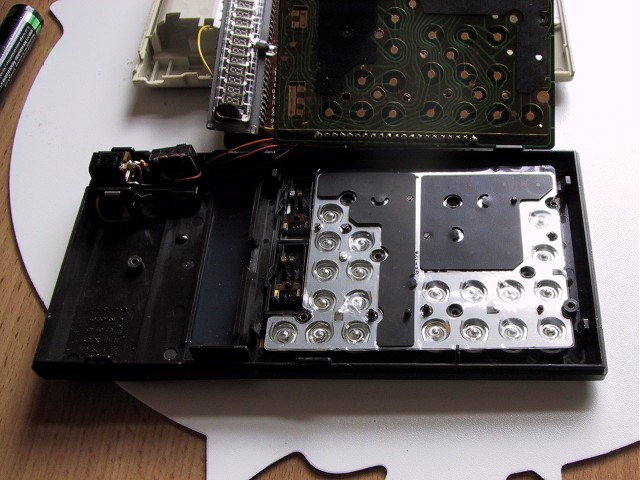
| underneath there is a metal spring plate covered with a
clear plastic membrane and then connective black pads. some of the pads
will stick to the underside of the circuit as shown here.
remove those over the spring plate, remembering where they were placed. then remove the plastic membrane and the spring plate itself |
 |
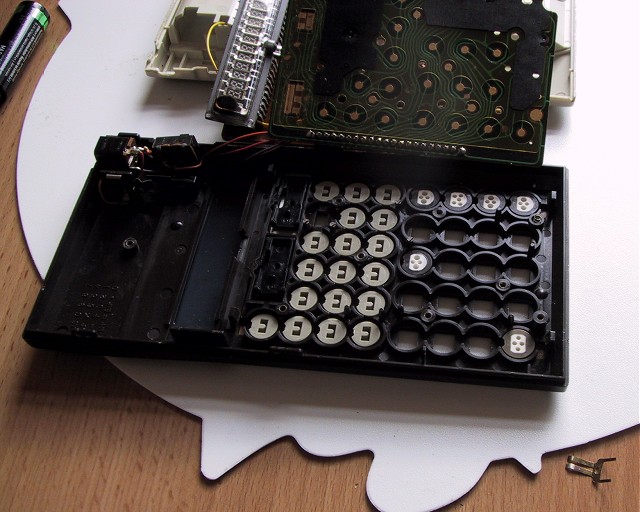
| now you can see the backs of the buttons themselves. make
sure you remember where they live. some models (like this one) have an
internal layout chart printed inside the plastic case.
see here the buttons i have removed. the very back of the front panel where the button sits needs cleaning. also clean the button itself around the edges. all that remains is to put the buttons back and reassemble the machine. if you know where all the buttons live. you might like to tip them all out and clean the front of the face at this point because its a lot easier than when the buttons are in. the plastic switches and their small metal connectors will also fall out. make sure you know how to put these back. |
 |